Share this

Showing posts with label fall. Show all posts

Sunday, October 20, 2013

Pumpkin love

It seems I've been a bit lax lately with the posts.  October has been a super busy month for us!  Between working a full time job and all of our social engagements on weekends (parties, weddings, more parties), I have found it hard to find the time to create and write.  Yesterday, we had a small gathering with friends to go to.  I was told I could bring something if I wanted to.  Really?  Of COURSE I want to!  It's what I do!  And seeing as this gathering was a Halloween party, what better way to get in the spirit of the season than with pumpkin!

Now, pumpkin rolls are one of my favorite things in the world.  But I really didn't feel like baking and cooling and spreading and rolling, not to mention finger food is much more manageable at a party.  This made me create my own version - Pumpkin Cupcakes with Cream Cheese frosting.  All the taste of a pumpkin roll without all the hassle.  And it's finger food!  These are wonderful for a party, a dinner, or just because.  


Pumpkin Cupcakes with Cream Cheese Frosting
For the cupcakes:
1 c canola oil
1 c packed brown sugar
1 c white sugar
3 extra large or 4 large eggs
2 c pumpkin puree
2 1/4 c all purpose flour
1 tsp baking soda
1 1/2 tsp baking powder
1/4 tsp salt
2 tsp ground cinnamon
1 tsp ground ginger
1/2 tsp ground nutmeg
1/4 tsp ground cloves

For the icing:
1 stick of butter, room temperature
1 8 oz package cream cheese, room temperature
1 1/2 pounds of powdered sugar
1 - 3 Tbsp milk

This recipe makes about 24 cupcakes

Tools needed:
Cupcake pans
Cupcake liners

Fresh Pumpkin Puree.  Such a
pretty color!
Note:  I used fresh pumpkin puree that I made by roasting a pumpkin, peeling and seeding it, and running it through a food processor.  Canned pumpkin may be used in its place.  If you decide to use canned, make sure it is just pumpkin puree, not pumpkin pie filling.  

Preheat oven to 350 degrees. 

Place oil, brown sugar, white sugar, eggs and vanilla into a mixing bowl and whisk until well combined. 

Whisk in the pumpkin puree, and beat until mixture is smooth. 

In a separate bowl, combine flour, baking powder, baking soda, and salt.  With mixer on low speed, slowly add the dry ingredients to the wet until combined.  

Add cinnamon, ginger, nutmeg, and cloves.  Mix on medium for 2 - 3 minutes.  

Place liners in cupcake pans, and fill with batter about halfway.
Like this!  

Bake for 20 - 25 minutes, until toothpick inserted into the center comes out clean.  Allow to cool in pan for about 15 minutes, then remove from the pan and cool the rest of the way on a wire cooling rack.  

You KNOW you want to eat these!
While the cupcakes are cooling, make the icing.  Combine butter and cream cheese in a bowl and beat until fluffy.  

Add powdered sugar slowly in batches.  The icing will be very thick and crumbly.  Add milk 1 tablespoon at a time until the icing reaches the desired consistency.  

Once the cupcakes are completely cooled, pipe onto cupcakes.  


 I didn't even have the lid off the container for 30 seconds before the first one disappeared.  And my hubby confessed to me that he's eaten about 5 between yesterday and today.  So, yeah, they're that good! I promise, these will not disappoint.


Wednesday, September 25, 2013

Accidental stuffing

Because I am me, and I am accident prone, I somehow managed to pull my back out this weekend (and no, I don't know how.....).  I was able to muscle through my work day on Sunday, but by the time I woke up on Monday morning I was hurting.  Long story short, after a warm bath (and a couple muscle relaxers), I was feeling almost normal.  Which is why when my husband asked me "what's for dinner", I gave him an answer instead of a dirty look.  The cooler weather plus the general ouchiness of my back made me want just simple, stick to your ribs comfort food.  And I can't think of better comfort than chicken and stuffing (and potatoes, and corn, and gravy, and cranberry sauce......I needed a lot of comfort that night, apparently!).

The previous paragraph of me whining about my back was my round about apology for not photographically documenting every single step of this process.  The good news is that I think you can handle ripping bread, and dicing and sauteeing onions without pictures (I have faith in you!).

So, why did I call this post "accidental stuffing?".  Because it truly WAS an accident.  I found out on Monday that my husband hates celery in his stuffing.  Really?  After 3 years, he decides to tell me NOW that he hates this?  You know, after I've been making it that way for the entire duration of our relationship? *sigh*  Luckily, I decided not to get annoyed and chalked this up to a learning experience (I love you, baby!) and decided I needed to get creative.  I started brainstorming what I could possibly do to plain white bread to make it interesting.  OK, let's back it up for a second so I can also tell you that I did not stuff the bird.  Now we're dealing with bread and onions cooked OUTSIDE of the chicken....what can I possibly do to jazz this up?  After rifling through my cupboards and grabbing miscellaneous things, I had the "aha!" moment and came up with this:


Stuffing with dried cherries and walnuts
1 large loaf plain white bread
1/2 stick butter
1 medium onion, diced
1 T fresh parsley, finely chopped
1/4 c dried cherries, chopped
1 c chicken stock
2 T chopped walnuts
Salt and Pepper to taste

This stuffing is sexy!! 


Preheat oven to 375 degrees.  That's the temp I cooked my chicken at, so I just put it in the oven with my chicken.

Start by ripping bread into small chunks and putting into a medium casserole dish.  Set aside.

Melt butter in a medium saucepan and add onions and parsley.  Cook over medium high heat, stirring often, until onions are transparent and slightly brown.  Remove from the heat and pour over the bread.  Add chicken stock, salt and pepper, and dried cherries to mixture.  Stir well.


Yummy!!  It's even good cold!
Now, that's skill......

Sprinkle chopped walnuts over the top.

Bake uncovered for 35-45 minutes, until heated through and top gets a little brown.

Honestly, when I made this, I wasn't sure how it would turn out.  I mean, it SOUNDS good, but without the celery I was afraid it would be missing something.  Boy, was I wrong!!  I looked at my hubby and asked how it was and got the "happy food dance" (I get that a lot. Someday I should post a video of this.....).  He then informed me that this is how I make stuffing now. And only this way. I'd say I nailed it!

Edit: I LOVE this recipe, and decided to submit this to:
Joybee, What's for Dinner?

Tuesday, September 24, 2013

Not quite pumpkin pie

This Sunday while I was working, my father in law came over to hang out with my hubby/watch football/raid my fridge.  No, no, it's not his secret plan to wait until I'm gone and eat all my food.  He appreciates my cooking, and therefore I give him free reign over the contents of my refrigerator.  My husband is a bit more stingy, telling him "No, that's MINE!" about everything in there, but I keep threatening that I will quit cooking if he doesn't play nice and learn how to share.  It's not limited to his father, though...every time he sees me leaving the house with something I've made he panics.  It's kind of funny, really.  In talking to my other female friends that cook, I found this is a common thing among the males in our life.  I keep reminding him that this isn't the last pie/jam/quickbread/beef stew that I'll ever make, but I don't think it's quite sunk in yet.  In any case....in exchange for the food that he took (and LOVED!  Score one for me!!!!!), my amazing father in law brought me apple cider (my favorite!) and two of the biggest butternut squashes I've ever seen!  

Biggest squash EVER!
Seriously, look at the size of these things!

Even though I JUST made an apple crumb pie, my hubby's first request was "You should make me a pie out of these".  I didn't see any good reason not to, and besides, I've never had a butternut squash pie before.  And since it is so close to pumpkin, I figured it couldn't be that bad, right?  So, off to the kitchen I went and started on my next project/invention.  


First things first - roast those beautiful squashes!  The roasting makes removing the skin totally easy.  Once they're roasted and cooled a bit, just scoop out the seeds (SAVE THEM!!  Roasted squash seeds are both delicious and nutritious!).  Then just throw the peeled and seeded squash into a food processor until you have a smooth velvety puree.
Pretty!
 I then line a strainer with a paper towel, dump the puree into it and place it over a bowl. This will help some of the excess water to drain out.  I set this aside while I am doing the prep work.  So, I guess now is a good time to unleash the recipe.

Butternut Squash Pie with Vanilla Cinnamon Whipped Cream
For the pie:
1 can sweetened condensed milk
2 large eggs
2 1/2  cups butternut squash puree
1 Tbsp cinnamon
1 tsp ground nutmeg
1/2 tsp  ground ginger
1/4 tsp ground cloves
1 pie shell (get the recipe and tutorial HERE!)

For the whipped cream:
1 c heavy whipping cream
4 tsp confectioners sugar
1 tsp vanilla extract
1/4 tsp cinnamon


Preheat oven to 425 degrees.

Make your pie shell and set aside. 

Look familiar?

Place eggs in mixer and lightly beat.  Add condensed milk and butternut squash and mix on medium until well blended. Finally, add your spices, and mix until well incorporated. 
Action shot!
Should end up looking like this

 Pour the mixture into the unbaked pie shell and bake at 425 degrees for 15 minutes.  

Pre-baking


After 15 minutes, adjust oven temperature to 350 degrees.  Continue baking for 35 - 40 minutes,  or until pie is mostly set and the center is slightly jiggly. No worries, that sassy center will set up once the pie cools.  


Once the pie is done baking, set on a wire rack to cool.

Say it with me - OOOOOOHHH!

That's it for the pie!  Seriously simple.  

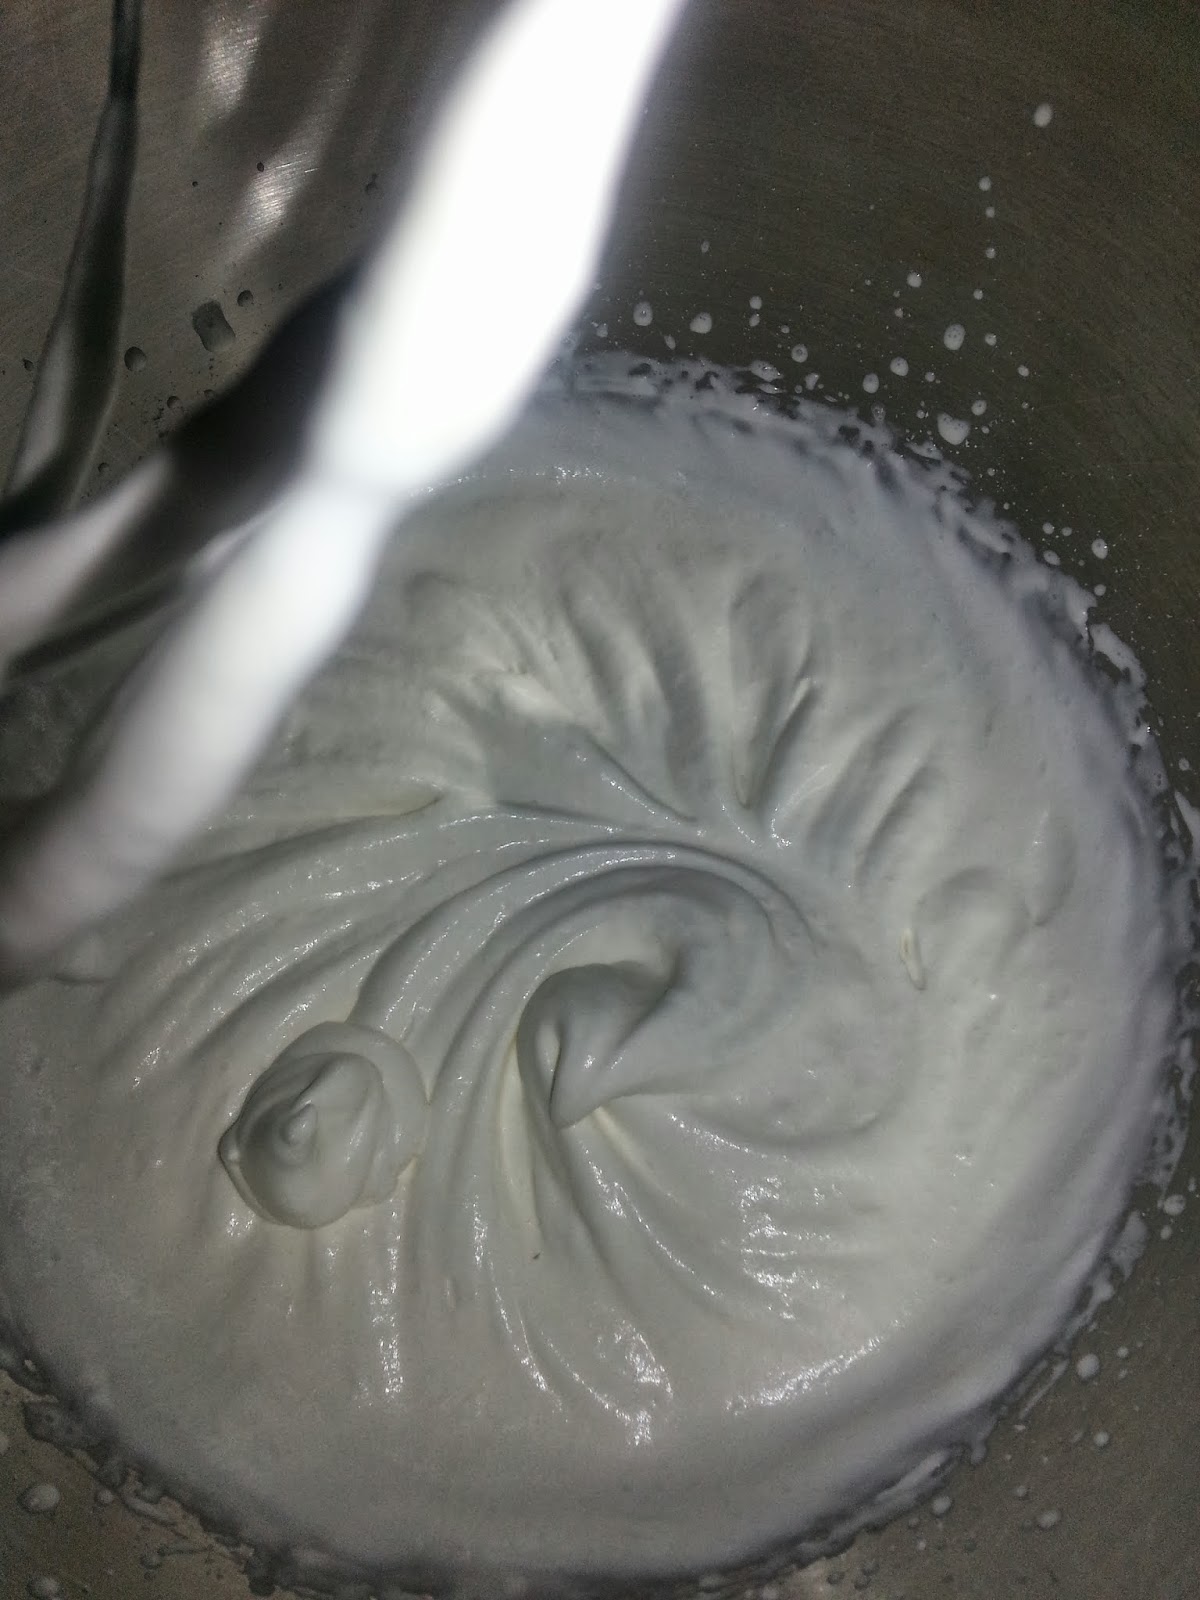
While the pie is cooling, make the whipped cream.  Pour heavy cream and confectioners sugar into mixer with wire whisk attachment.  Beat on high until soft peaks form.

Here's your soft peaks
 
Use caution when working with cream - you can go from milk to butter very quickly if you don't watch it closely.  Once it gets to that point, you're stuck with it.  But with a little vigilance, this is not hard.  I promise.

Turn off mixer and add vanilla.  Turn back on high and mix until you get stiff peaks.  


And stiff peaks


Turn off and add cinnamon, and give it a couple more turns with the mixer.  Remove from the bowl and put into a covered container and stick it in the fridge.  

Once the pie is completely cool, it is ready to serve!  Cut a slice and serve with a dollop of whipped cream.  I was surprised at how good this is!  
Oh my that's BEAUTIFUL!!  

And it's not sickeningly sweet, which I liked.  So, I guess the next step is to call my father in law so he can try what his gift inspired.  I'll have to leave instructions with my husband so he knows he needs to share.....


Sunday, September 1, 2013

Happy Fall!

Today is the first day of September, which in my brain means it is fall.  Yes, I know, I know.  Fall starts officially on September 21st.  But, as most people who know me know, following rules is not exactly my forte.  In my mind winter is December through February, spring March through May, summer June through August, and fall September through November.  So, yes.  It's fall.  Never mind the fact that it's 90 degrees here in PA this week.  Now, don't get me wrong, I'm not quite ready to admit that summer is coming to an end yet and my garden is still in full swing, but I am looking forward to the days of crisp weather, turning leaves, pumpkin EVERYTHING, and wearing hoodies.  For now, I guess I'll just have to settle for getting into the spirit of the season through my kitchen.

With the increased awareness lately of GMO's and the pitfalls of factory farming, my husband and I have made the choice to keep most of our produce selections locally sourced (and sometimes so local, that it comes from our own back yard!).  The result is eating things that are fresh and in season.  Sure, that means no fresh strawberries in February, but those usually taste like exactly nothing anyway. Of course, there are things I absolutely cannot live without that are never in season here like bananas, avocados, pineapples, mangoes, etc. But for the most part, I try to eat as locally as I can.  This results in a weekly trip to my favorite farmer's market ever and obscene amounts of fresh produce in my kitchen.  My market does differentiate between homegrown, locally grown, and shipped in, which is nice.  Not all of them do that, so be aware - just because it is at a farmer's market does not mean that it is grown locally.  Don't be afraid to ask where your food comes from!!  Any market worth its salt will be more than happy to share.  But, it seems I've gotten off track here.....

So what does my farmer's market rant have to do with anything?  Why, acorn squash of course!!  My market has the most beautiful array of squash right now, and so reasonably priced ($0.65/lb!!).  And I have yet to meet a squash I don't like.  So I happily picked out spaghetti squashes and acorn squashes and brought them home to add to my produce collection.  The nice thing about squash is that they keep FOREVER!!  So I stared at them for about a week looking so cute in my hang-y produce basket and contemplated what I should do with them exactly.  And then, I came up with this:

Acorn Squash stuffed with Sausage, Quinoa, and Apples
3 Acorn squashes
1 lb Loose hot Italian sausage
2 c Cooked quinoa (I used red quinoa, but it doesn't matter what kind you use)
Vegetable stock
2 T Olive oil
1/2 White onion, diced
2 Apples, peeled, cored, and diced
1 tsp Fresh rosemary
1 tsp Fresh parsley
1 tsp Fresh thyme
Shredded cheddar cheese
chopped walnuts

Tools needed:
Just the basics

Preheat oven to 375.  Cut acorn squash in half vertically.

Mmmmmm....squashy goodness!

Scoop out the seeds and trim just a smidge off the back so that it will lay flat on the tray.

All clean!

You're literally just shaving a little off the bump.
Just enough so that it won't wobble while baking.


If you feel so inclined, save the seeds!  You can clean them, dry them, and bake them just like pumpkin seeds.  (Yum!)  Place cleaned squash on baking sheet and bake for about 45 minutes or until soft. You can test done-ness with a fork.  If the fork pierces the squash meat with little to no resistance, you're ready to rock!

Even this looks amazing!
While your squash is in the oven, cook your quinoa according to directions on the box, substituting vegetable stock for water (unless you have cooked quinoa hanging out in your fridge, in which case just grab it.  But, seriously, who does that?).  While the quinoa is cooking, heat the olive oil in a pan over medium heat.  Add the apple, onion, rosemary, parsley, and thyme.  Saute until onions are soft. The apples will all but disintegrate, but that's OK.  We really just want the apples to add a sweetness to the dish.  

Once the onions are soft, add the sausage to the pan and cook while breaking it up. (Think: browning ground beef for sauce or chili).  Once the sausage is done, remove from heat and stir in the cooked quinoa.
Yummy filling, ready to be added to the squash
 You'll probably notice I did not add salt to this dish.  The reason for that is that the sausage is salty enough that I really didn't think it was needed.  But, of course, if your sausage doesn't add the desired amount of saltiness, feel free to add.  Remember - cooking is way more forgiving than baking!  You can tweak a recipe any way you see fit.  
See?  Extra.


Now spoon the sausage mixture into the cooked acorn squash.  You'll notice in my pictures, I only made two squashes, but ended up with extra filling (enough for one more squash, hence the instructions to do 3).
 Top with shredded cheddar cheese and sprinkle with walnuts.  Put back in the oven for about 7-8 minutes, until cheese is melted.  

And that's it!
So pretty!  This just screams "FALL!"
 This is the perfect combination of sweet and savory.  My hubby actually made me a little nervous when he tried it.  He took his first bite and just looked at me.  I thought he hated it...then his eyes damn near rolled back in his head while he exclaimed "this is so GOOD!".  As I was eating mine, I was surprised at how with every bite I took, I loved it a little more each time.  This one is definitely on the "do it again" list!