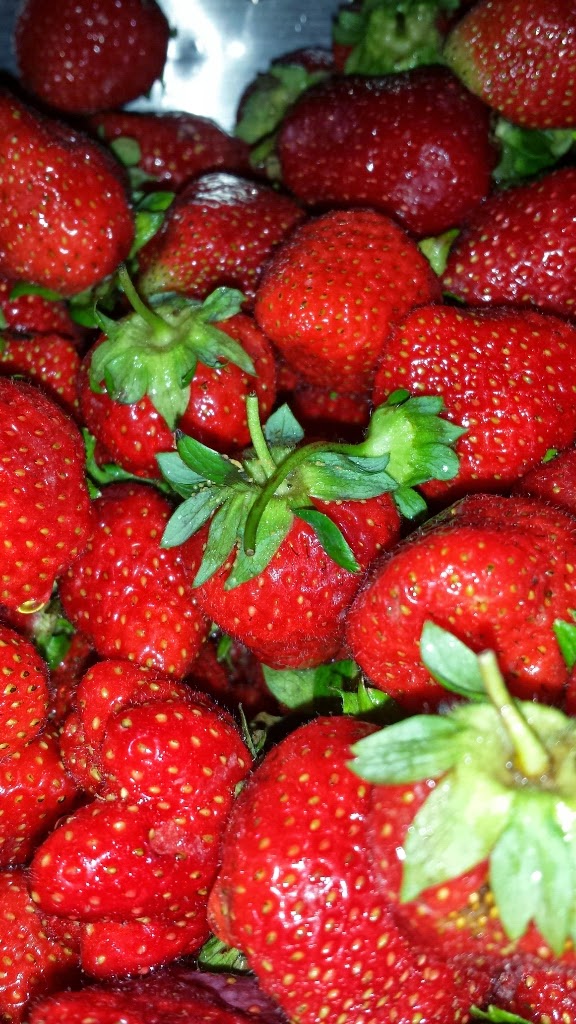
Last year I made 31 jars of strawberry jam. It was actually my first attempt at jam making and was a great success. I gave many jars away, and each time one walked out the door I could see my husband taking mental inventory of his stash. But, thankfully he got through the winter without running out, with 4 jars left to spare.
Last year, when I made my jam, I used regular pectin and LOTS of sugar. It was also a much chunkier, looser jam. This year, I switched it up a little and used the low sugar pectin, which allows me to play with my sugar content a little more. See, when I eat jam, I like it to taste like sweetened fruit, not fruit flavored sugar. And making your own is easy, I promise! I was in my kitchen for a total of 2 hours star to finish. So, here's what you need for:
Easy Strawberry Jam
Equipment
Large pot with canning rack for processing
Canning tongs
Funnel
Jelly jars with lids and rings
Large stock pot
Important canning note: If you already have jars, great! You're one step ahead of the game! However, if those jars have lids and they have been used THROW THEM OUT AND GET NEW ONES! You can find them in the grocery store for a couple bucks per dozen. The jars and the rings can be reused, but used lids will affect the seal when you process, ie: your food won't keep. Canning is fun, but canning safely is of utmost importance. It keeps you from getting foodborne illness and wasting time, money and effort on a bad run. OK, now that that's out of the way....
Ingredients
8 qts of strawberries
24 Tbsp powdered pectin, for low or no sugar recipes
5 c sugar (you can add more or less depending on you taste)
Note: some recipes call for lemon juice. I did not use any. With some fruits it is necessary to maintain acidity so that it will not harbor harmful bacteria even after canning. According to the National Center for Home Food Preservation, strawberries don't need it. You can see their recipe here.
Put about 6 to 8 inches of water in your pot. You want enough so that when your jars are in the water they are completely submerged with about an inch of water over the top of the jars. Turn on the heat and place clean jars (making sure they are free of chips and cracks first) into the pot. Some say this is necessary for sterilizing, others say that boiling the jar and contents is enough to sterilize the jars. Either way, pouring hot liquid into a cool jar will crack it. (Trust me. I may or may not have done that once...). Usually when I do this step, my husband makes a smart ass remark like "Oh, glass water! My favorite!". His wit is why I married him....
Now, to wash and hull your strawberries. This is honestly the most time consuming part. Rinse the strawberries, getting all dirt and debris off of them. Then simply remove the tops, and throw them (the berries, not the tops) in your big pot. My secret strawberry hulling
 |
| Forget knives! This Does the trick! |
Once you are all cleaned and hulled, I add just a smidgen of water (like 1/4 cup) and start them on medium heat to get the juices flowing. I take a wooden spoon and just stir and mash and break them up until they really start cooking down and getting really juicy.
 |
| Stick blender = Best thing EVER! |
Now that your jam is made, use your tongs to remove jars from water. (It should be boiling at this point). Using your funnel, ladle hot jam into hot jars.
 |
| If you can find a canning funnel - get one! Makes things so easy! |
After time is up, carefully remove the lid and remove the jars and place on a tea towel. Let them sit, undisturbed until completely cool. Then, once they are cool, remove the rings, and gently press down on the center of the can. If it pops in and out, then it did not seal. If you don't feel it popping, it's good! Any jars that didn't seal can be put into the refrigerator and eaten first.
And that's it! Easy strawberry jam. Probably the easiest way to preserve the berries from this too short season.


No comments:
Post a Comment